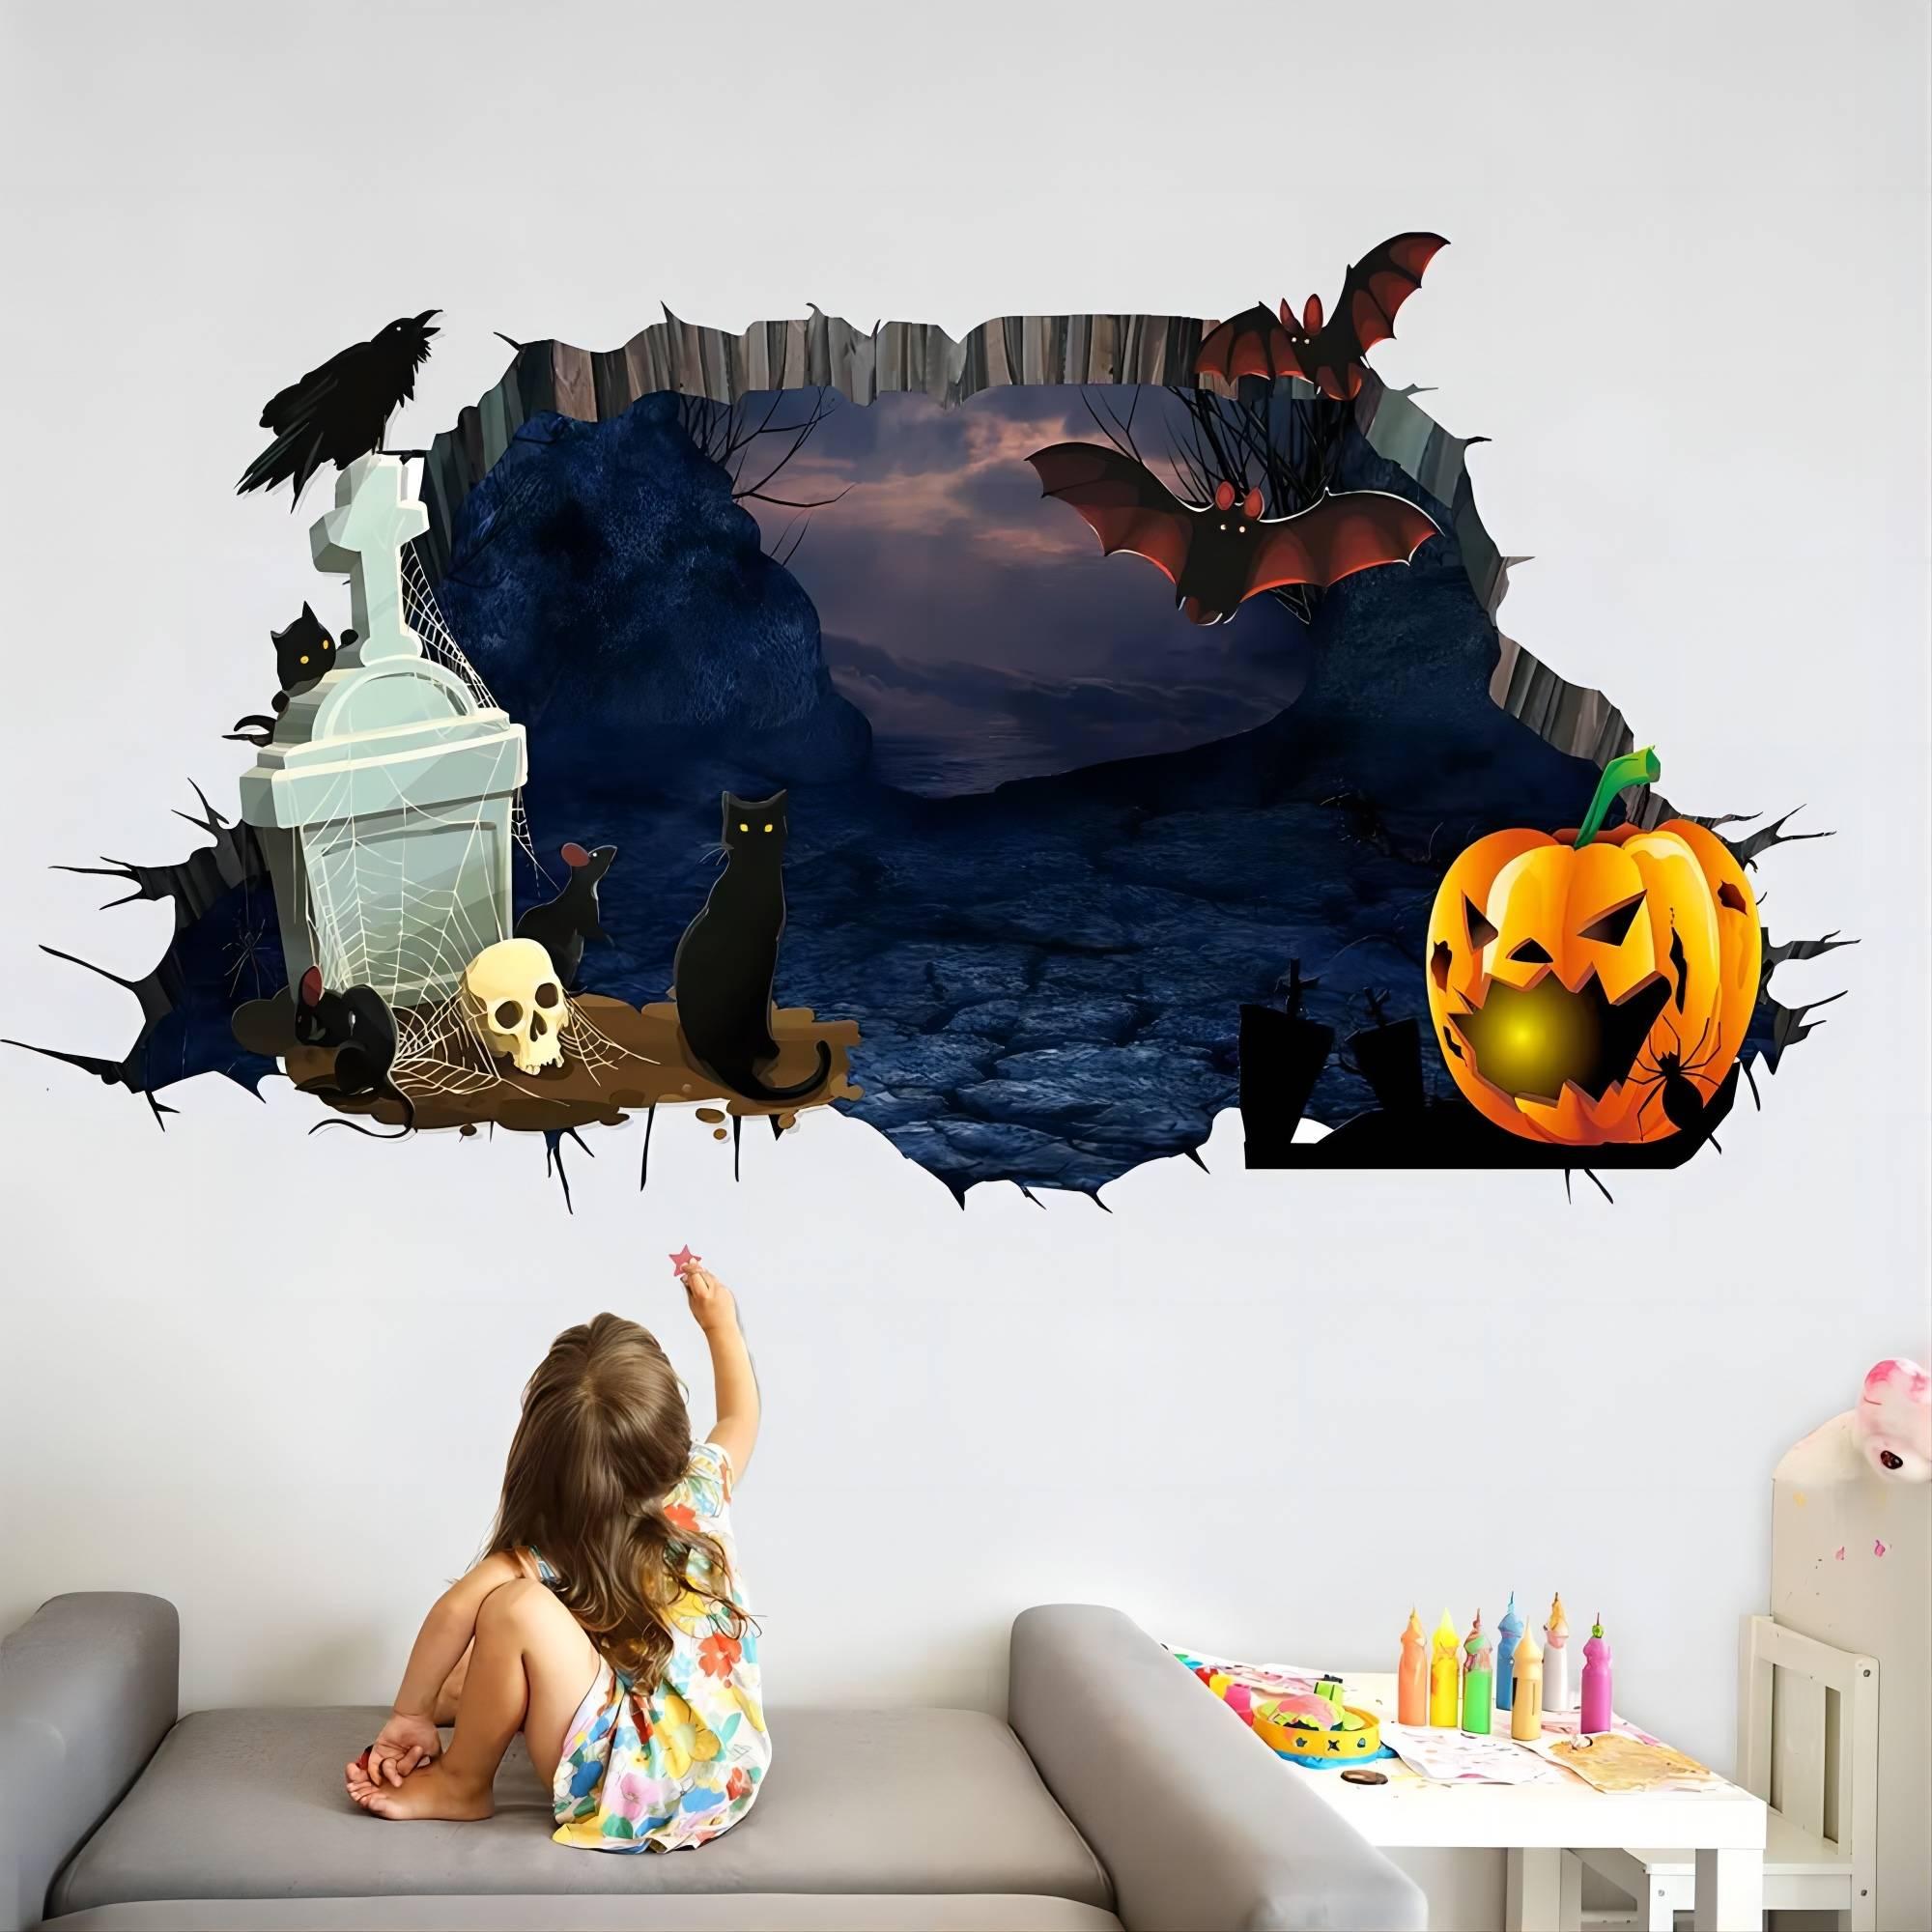
Wall Decals for Textured Walls: How to Apply

Decorating textured walls can be challenging, but wall decals offer a versatile and creative solution. Unlike traditional paint or wallpaper, wall decals can add a unique flair to your space without the mess or commitment. However, applying wall decals to textured surfaces requires some special considerations. In this guide, we will walk you through the steps to successfully apply wall decals on textured walls, ensuring a smooth and long-lasting result.
Understanding Your Textured Wall
Before applying any wall decals, it’s essential to understand the type of texture on your wall. Common textures include:
- Knockdown Texture: A style where the wall is sprayed with a mixture of joint compound and water, creating a rough surface.
- Popcorn Texture: Often found on ceilings, this has a bumpy appearance due to spray-on materials.
- Brushed Texture: Created by brushing a mixture onto the wall, giving it a linear look.
Each texture type may impact the adhesion of your wall decals. While decals can still stick to these surfaces, the application technique may differ based on the wall's texture.
Tools and Materials You’ll Need
To successfully apply wall decals on textured walls, gather the following tools and materials:
- Wall Decals: Ensure you choose high-quality decals that are specifically designed for textured surfaces.
- Measuring Tape: For precise measurements of your wall space.
- Level: To ensure that your decals are applied straight.
- Plastic Scraper or Squeegee: For smoothing out air bubbles during application.
- Cleaning Solution: A mild detergent mixed with water or a commercial cleaner to prepare the wall surface.
- Soft Cloth or Sponge: For cleaning the wall.
Preparing the Wall Surface
-
Clean the Wall: Before applying any decals, ensure that the wall is clean and free of dust, grease, and dirt. Use a damp cloth or sponge with a mild cleaning solution to wipe down the surface. For textured walls, pay extra attention to crevices where dirt may accumulate.
-
Dry the Surface: Allow the wall to dry completely. This step is crucial, as moisture can hinder the adhesion of the decals.
-
Check for Damage: Inspect the wall for any damages or imperfections that may affect the application of the decals. Filling in any cracks or holes will provide a smoother surface for adhesion.
Measuring and Marking Placement
-
Determine Placement: Use your measuring tape to decide where you want to place the decals. Consider the size of the decals and the overall design of the room when making your decision.
-
Use a Level: To ensure your decals are straight, use a level while marking the placement. This step is particularly important for larger decals or when creating a mural effect with multiple pieces.
-
Mark Lightly: Use a pencil to lightly mark the points where the decals will be applied. This will serve as a guide during application.
Step-by-Step Application Process
-
Peel and Position: Start by peeling the backing off the decal. For larger decals, it may be helpful to have someone assist you in holding the decal while you position it. Align the decal with your marked points to ensure proper placement.
-
Apply the Decal: Gently press the decal against the wall, starting from the center and working your way outward. This technique helps to eliminate air bubbles.
-
Smooth Out Air Bubbles: Use a plastic scraper or squeegee to smooth out any air bubbles. For textured walls, a little extra pressure may be needed to push the decal into the grooves of the texture.
-
Adjust as Needed: If you notice any misalignment, gently peel the decal away and reposition it before the adhesive sets.
-
Secure Edges: Once the decal is positioned correctly, press down firmly on the edges to ensure they adhere well, particularly in areas where the texture may create gaps.
Post-Application Care
After applying your wall decals, allow them to set for 24-48 hours before cleaning the wall or subjecting it to heavy traffic. This waiting period helps the adhesive bond effectively with the textured surface. To maintain the appearance of your decals, avoid using harsh cleaning chemicals and gently wipe the surface with a damp cloth as needed.
Conclusion
Applying wall decals on textured walls can be a fun and rewarding DIY project. By following these steps and taking the necessary precautions, you can achieve a beautiful and long-lasting design that enhances your space. Whether you want to showcase your personality or create a serene atmosphere, wall decals can help you achieve your vision with ease. So, gather your materials, follow the steps, and transform your textured walls into a stunning canvas for your creativity!
reference: Wall Decals For Textured wall: How To Apply?
- Art
- Causes
- Crafts
- Dance
- Drinks
- Film
- Fitness
- Food
- Παιχνίδια
- Gardening
- Health
- Κεντρική Σελίδα
- Literature
- Music
- Networking
- άλλο
- Party
- Religion
- Shopping
- Sports
- Theater
- Wellness
- Travels

